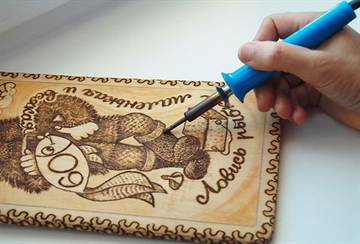
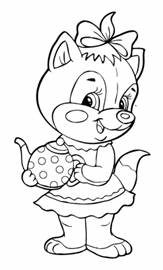
In today's master class, I will tell you how to make an image of a kitten on a cutting board using the burning technique.
Wood burning requires the following materials:
Burner;
Cutting board;
Varnish;
Picture;
Let's start burning the picture:
1) First you need to print a drawing on a printer, in our case this is an image of a kitten with a bouquet of colors. If you're good at drawing, you can do a freehand drawing.

2) Now you need to transfer the drawing to the surface, this can be done very easily with a carbon paper, but if you don’t have one, you need to paint over the back side with a pencil.

3) Then fix the drawing on the board with adhesive tape and circle with an ordinary simple pencil.

4) If you do everything right, on reverse side the picture will be displayed.

5) We start the process itself, turn on the burner and wait until it heats up. It is best to burn in a well-ventilated room, as the wood does not give off a very pleasant smell. Then we start to burn the image from top to bottom. We try to make all the lines clear and even. First, burn the rosebud.


6) Then we circle the leaves with a burner and smoothly move on to the wrapper of the bouquet. If your burner does not regulate the temperature, then you need to turn it off from time to time and wait until it cools down, otherwise the lines will be too bold.


8) After the image is ready, you need to remove the pencil lines with an eraser. You can also varnish the cutting board if you wish.

The cutting board with the image of a kitten is ready.


As a result of this master class, you learned how to burn wood. This cutting board can decorate your kitchen or become an interesting and original gift for any holiday.

Today, more and more people of different ages are interested in wood burning. This type of needlework is widely available and requires a minimum of basic skills and maximum care when working. Wood burning is called "pyrography", the pattern is applied to a wooden surface using a special electric burner, which can be purchased at specialty needlework stores. You can come up with drawings for wood burning on your own, or you can find ready-made templates and sketches online.
Material selection
The best material is a board made of alder, birch or linden. Wood should be soft and light, especially if this is your first work. Beginners also use regular plywood. Before applying the drawing, such a board must be sanded sandpaper. Or you can do everything on a cutting board that will be ready.
Sketches can be drawn on the board by hand, or can be translated through carbon paper or stencil.
How to draw
Make sure the board is dry before burning. Put connection points on the drawing translated with a pencil and only then draw lines. To get a thin line, the electric burner should be moved quickly, and vice versa, if you want to get a thicker line, move the tool pen more slowly.
No need to press hard on the electric burner when drawing a picture. When the line is finished, the pen must be torn off sharply.
First, the outer contour is burned out, then you can gradually move on to the inner details, to the center. It is best to burn out in parts, that is, you need to give the newly burned elements the opportunity to cool. So work a little on one area, then leave it and move on to another, and so on, until the whole work is completed.
After burning, the surface should cool slightly, then carefully, so as not to damage the strokes and lines, especially small ones, you need to sand the board with fine sandpaper. You can paint with watercolors or oil paints only when the work has completely cooled down. After painting, the work must be waxed, that is, subjected to a wax finish. Thanks to waxing, the design acquires a soft sheen and retains the natural color of the wood and the saturation of colors.
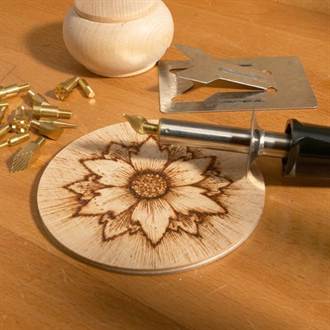
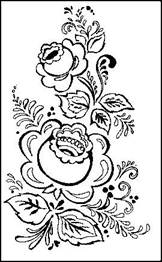
Examples for inspiration
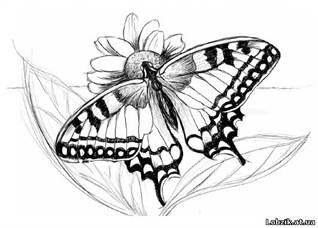
Patterns for wood burning can be very diverse: animals, flowers, ethnic ornaments, nature, and so on. They can be used for decoration cutting boards, as paintings in the house or as gifts to relatives and friends.
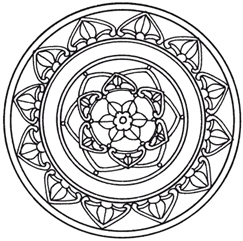
For beginners, it is best to choose simple drawings as in the photo:
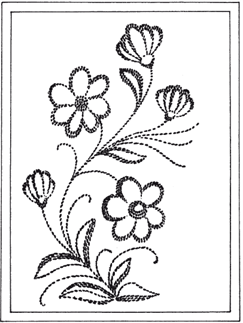


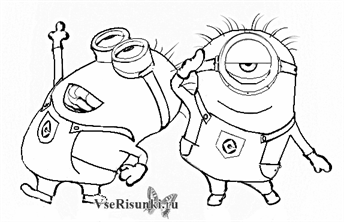
Children can also engage in pyrography, of course, under close attention, because you need to work with a hot electric burner. For little masters, there are also interesting, beautiful and easy drawing patterns:


Do this interesting view needlework is quite simple, the main thing is not to be afraid and follow your imagination. Happy creativity!
Video on the topic of the article
And in order to get acquainted with the topic in more detail, you can watch specially selected video materials on this topic.


How to disable ads on Android: remove pop-up ads
The Russian received a term and a million fine for "piracy Negative consequences of the law
Identification of key factors
The criteria for classifying organizations and individual entrepreneurs as small and medium-sized businesses have changed
See what "Royalty" is in other dictionaries Pitfalls of legislation